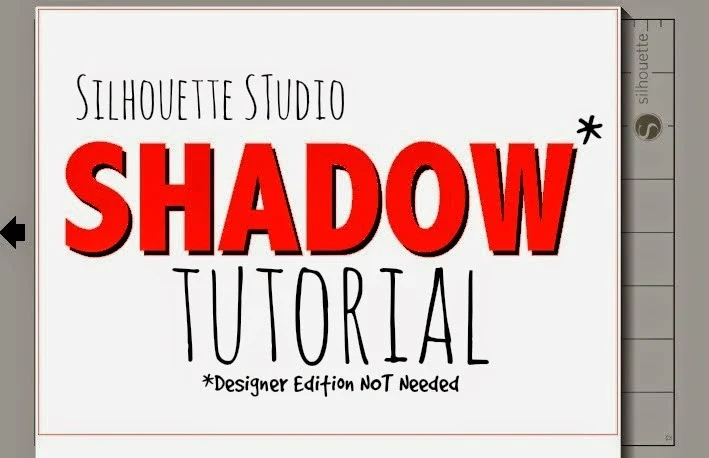
For this Silhouette shadow tutorial I'm going to pick a very basic font just so it's easiest for you to see the shadowing technique.
Start by opening up a blank work area. Click on the text tool and type out your text. Size it.
Select the font and duplicate it (copy/paste) so you have a total of three copies.
Using the fill tool, fill in two of the copies the color that what your text to be when you cut it on vinyl or paper or HTV and fill in the third the color you want the shadow to be. I'm going with red for the text and black for the shadow here.
From now on I'm going to refer to the black copy as the 'shadow' and the red as the text.
Grab one of the texts and move it on top of the shadow until you get the shadow in the position you want. (Leave the second text piece alone for now.)
Highlight the overlapping text and shadow pieces now at the same time. Open the modify window and click "Subtract." Now you're left with just the black shadow pieces.
It's a good idea to select the shadow pieces and group them together they stay together. If you're going to resize again be sure to resize the black shadow and the remaining red text together. If I remove the fill, here's what the cut lines looks like...
I know it looks odd, but obviously the top is the shadow area and the bottom would be your top layer of full text.

If you're having trouble imagining what it will look like once it's cut, you can fill in the colors again and move it the two pieces back on top of each other.
ADD: to help you better envision what the text and shadow will look like cut, I have cut one letter to demonstrate. The white is obviously the letter and the shadow was cut on black.

Then the vinyl is layered to bring together to get the shadow effect.
Few notes:
If you cut these on HTV, be sure to mirror them and then cut on separate coordinating pieces of heat transfer vinyl. Check out Silhouette School's lesson on Heat Transfer Vinyl tutorial for beginners for more tips.
If you're cutting your shadow and text on adhesive vinyl, you may want to use the no-fail vinyl layering method to get them spot on.
And that's all there is to making your own shadow in Silhouette Studio.
Note: This post may contain affiliate links. By clicking on them and purchasing products through my links, I received a small commission. That's what helps fund Silhouette School so I can keep buying new Silhouette-related products to show you how to get the most out of your machine!
Thanks for coming to class today at Silhouette School. If you like what you see, I'd love for you to pin it!


.png)


No comments
Thanks for leaving a comment! We get several hundred comments a day. While we appreciate every single one of them it's nearly impossible to respond back to all of them, all the time. So... if you could help me by treating these comments like a forum where readers help readers.
In addition, don't forget to look for specific answers by using the Search Box on the blog. If you're still not having any luck, feel free to email me with your question.